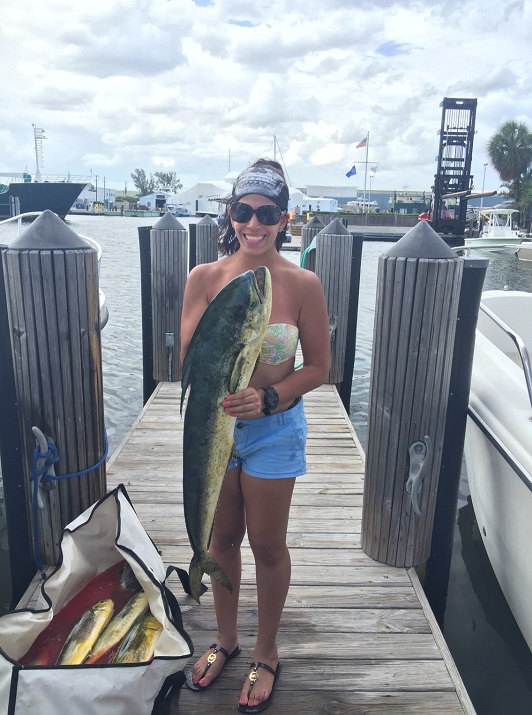
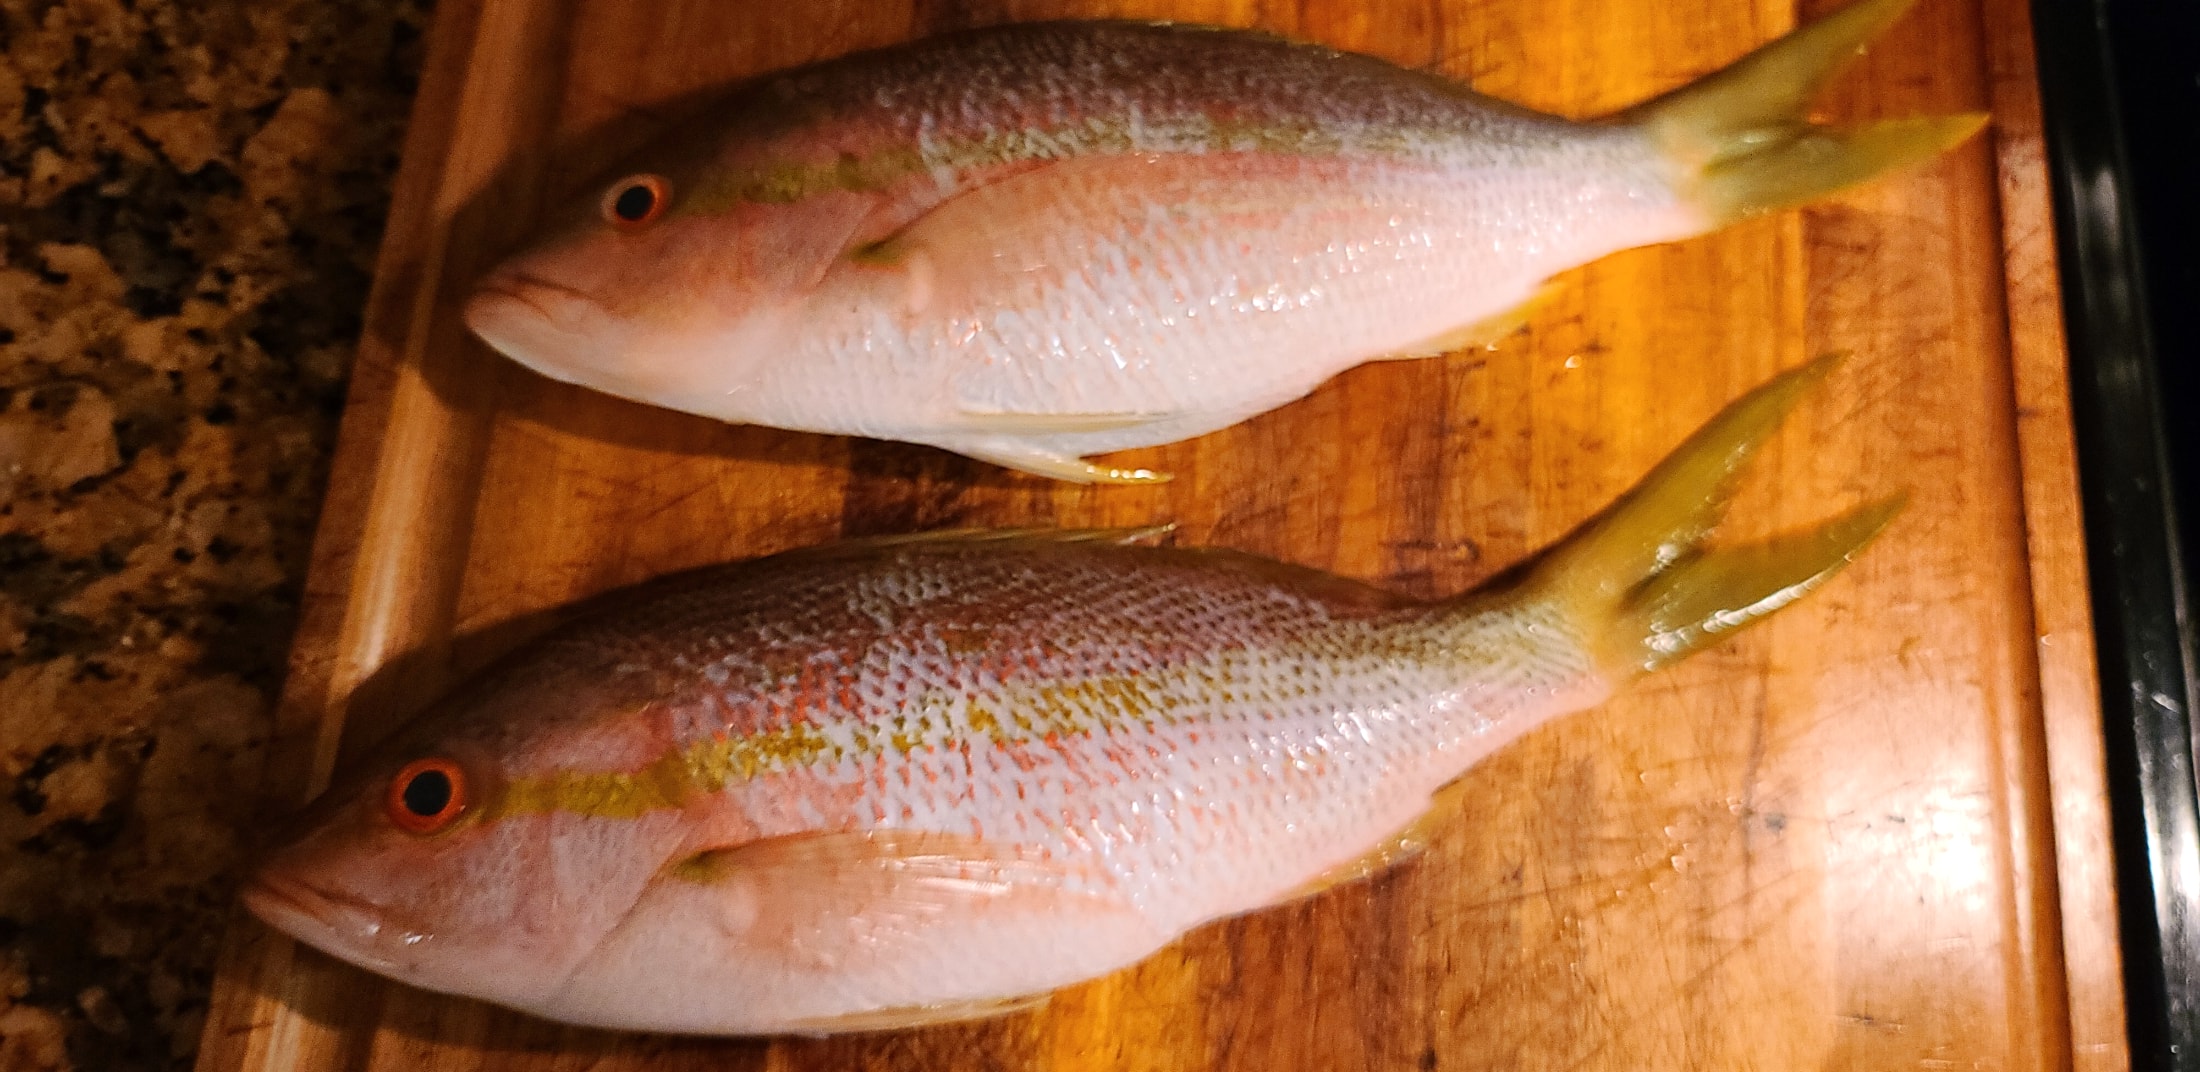
When I was younger, I remember my parents going out and catching fresh snapper during the day and hosting a huge fish fry for the family that evening. My father would scale the fish and my mother would prep it for cooking. Once fried, all you needed was a squeeze of fresh lime and a dash of salt. YUM. Fast forward to now and being lucky enough to have a boyfriend who is a great fisherman, we try to as often as possible (schedules allowing) to out of Fort Lauderdale to catch ourselves from dinner. Usually, we bake them in order to stay on the healthier side, however there is nothing that compares to a fresh fish fry. In the below post, I will show you easy step-by-step instructions on how to pan fry or deep fry your own fish with very few ingredients. Easy peasy! Fresh snapper is available at many grocery stores such as Whole Food and Publix and they come cleaned and scaled so the fish is ready for cooking!
Ingredients
- Canola oil is what we use, however, vegetable oil works as well.
- Olive oil
- 2 snappers of your choice (we prefer yellowtail)
- 1 box of zatarains crispy southern fish fri
- 4 tbsp of minced garlic
- 1 one gallon ziploc bag, we use these.
- 1 lime
- salt to taste
- For pan frying, you will need a food thermometer to check the temperature of your oil for frying.
Pan Fry Cooking Instructions
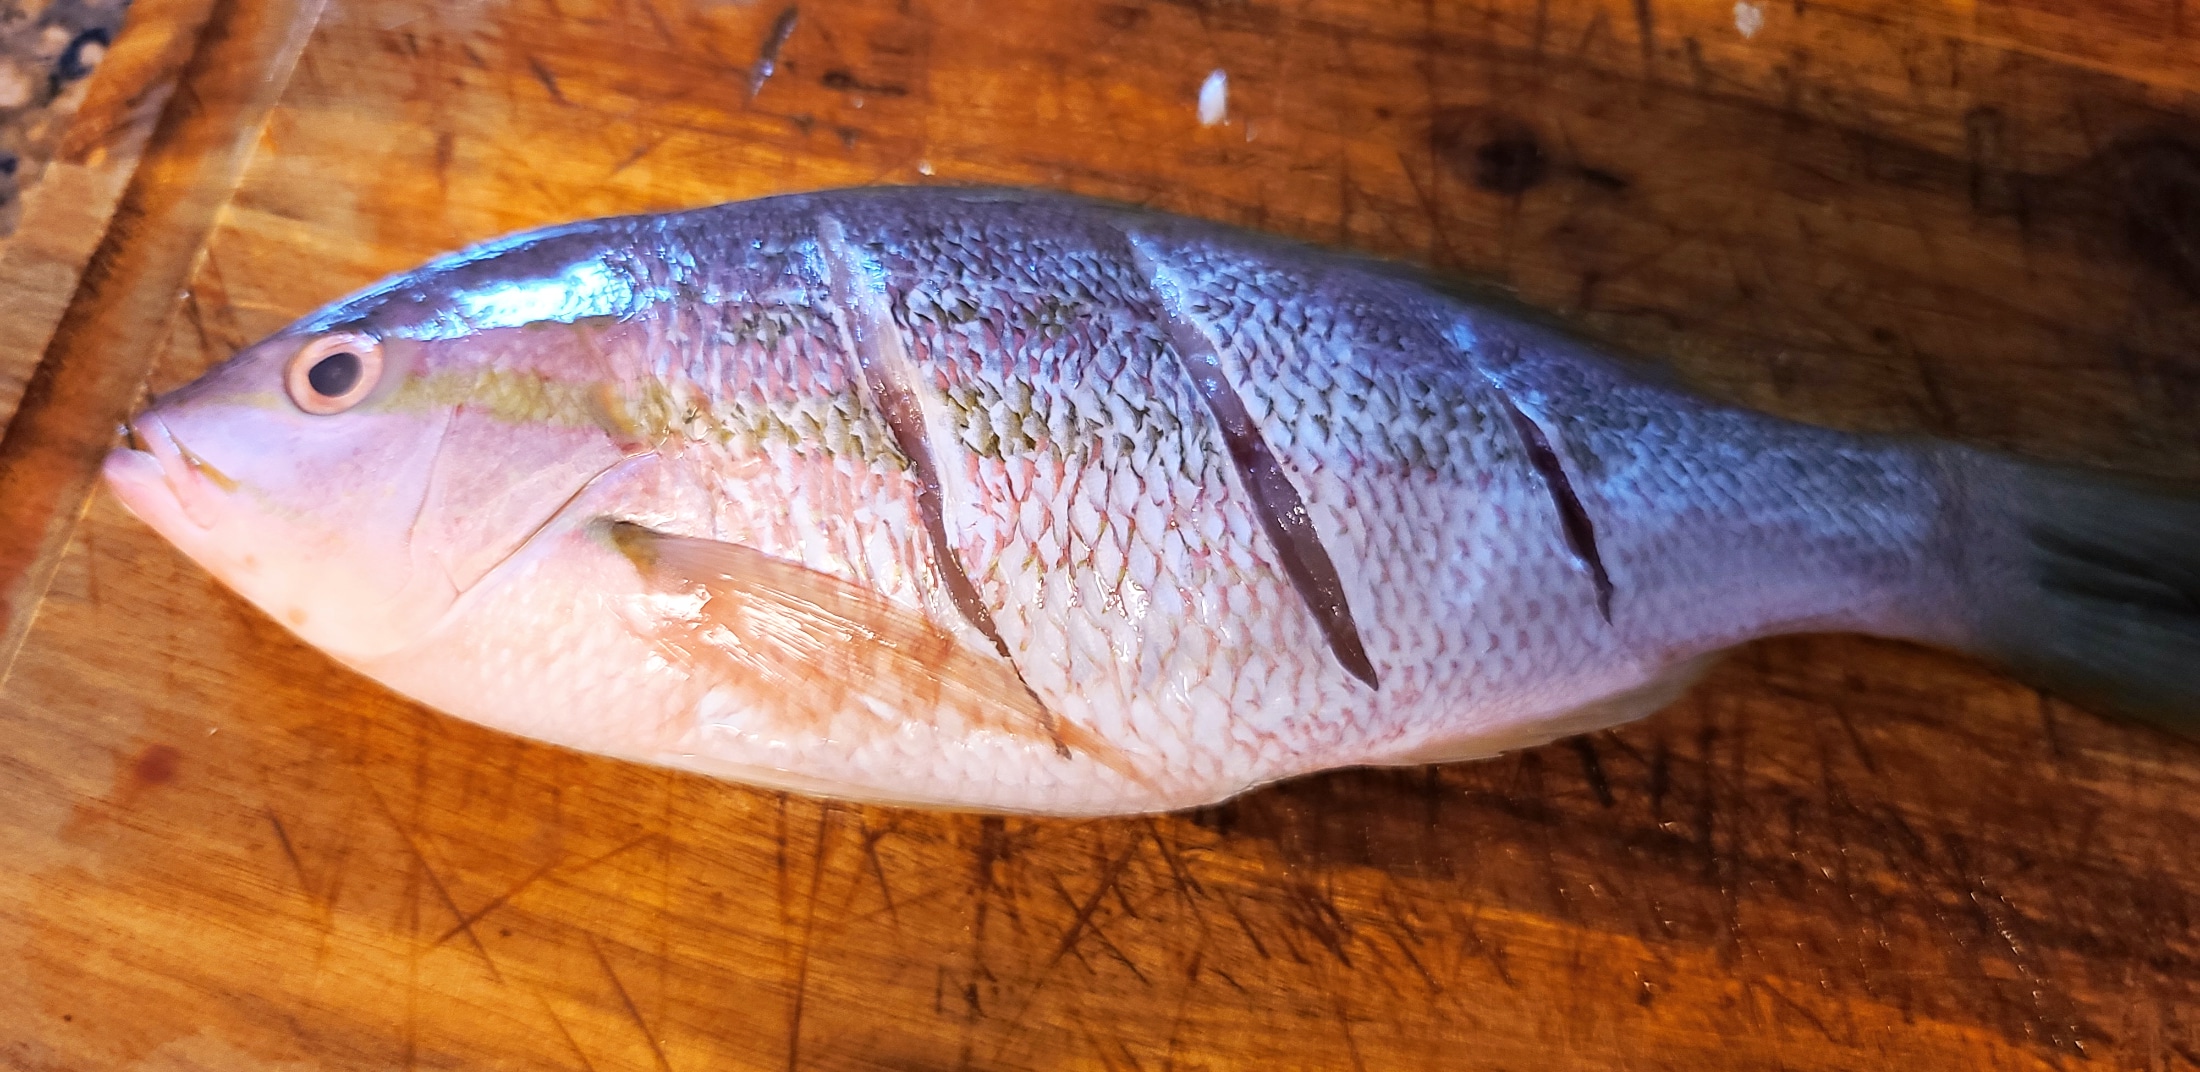
- Rinse the fish and pat dry.
- Cut slits on both sides of the fish making sure it is not to deep (about 1/4 inch).
- Coat a large skillet with roughly 1-1/2 inches of canola oil and set head to high.
- Heat skillet until the temperature reaches 350 degrees.
- In the slits made, insert minced garlic.
- Drizzle fish with olive oil making sure that the whole fish has some olive oil on it.
- Grab your ziplock bag and pour your fix fry mixture into it.
- One at a time, place your fish in the bag and shake/coat evenly with the mixture.
- Check your oil with your food thermometer to make sure it has reached a temperature of 350 degrees.
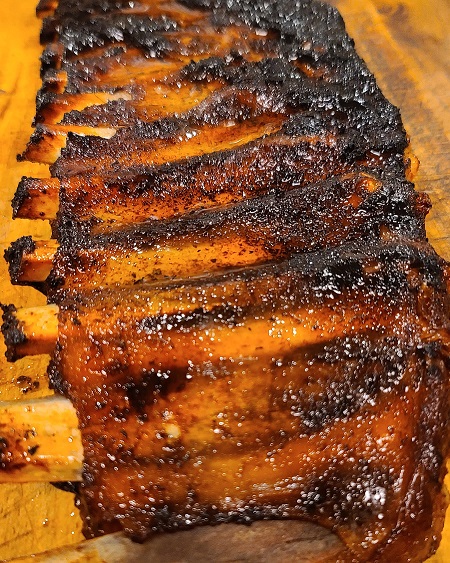
- You want to fry your fish until you see that it is a light crispy brown on the outside (approximately 3 minutes depending on the size of your fish).
- Remove fish from oil using tongs.
- Place the fish in a paper towel lined bowl to remove excess oil.
- Sprinkle salt and squeeze some lime over the fish.
- Enjoy!
Deep Fry Cooking Instructions
- Grab your deep fryer and fill 1/3 of it with canola oil.
- Heat the oil until the temperature reaches 350 degrees.
- Rinse the fish and pat dry.
- Cut slits on both sides of the fish making sure it is not to deep.
- In the slits made, insert minced garlic.
- Drizzle fish with olive oil and massage oil in – making sure that the whole fish has some olive oil on it (oil both sides), this is so the coating sticks.
- Grab your ziplock bag and pour your fix fry mixture into it.
- One at a time, place your fish in the bag and shake/coat evenly with the mixture.
- Check your oil with your food thermometer to make sure it has reached 350 degrees.
- You want to fry your fish until you see that is has a light crispy brown on the outside (approximately 3 minutes depending on the side of your fish).
- Remove fish from oil using tongs.
- Place the fish in a paper towel towel lined bowl to remove excess oil.
- Sprinkle salt and squeeze some lime over the fish.
- Enjoy!
Note: I suggest eating the fish as soon as possible to avoid the coating from becoming soggy. If lime is not your thing, don’t incorporate it. My family likes the zesty taste it gives the fish and how it makes the flavors more vibrant!
Did you try this recipe? Rate it below and leave a comment. I’d love to hear your feedback.